Unfortunately, I wrote this post originally 6 months ago, but I didn’t post it, because I thought I would have time to do followup. Since I am insanely busy right now with kids, life, work, etc. I’m flushing this draft.
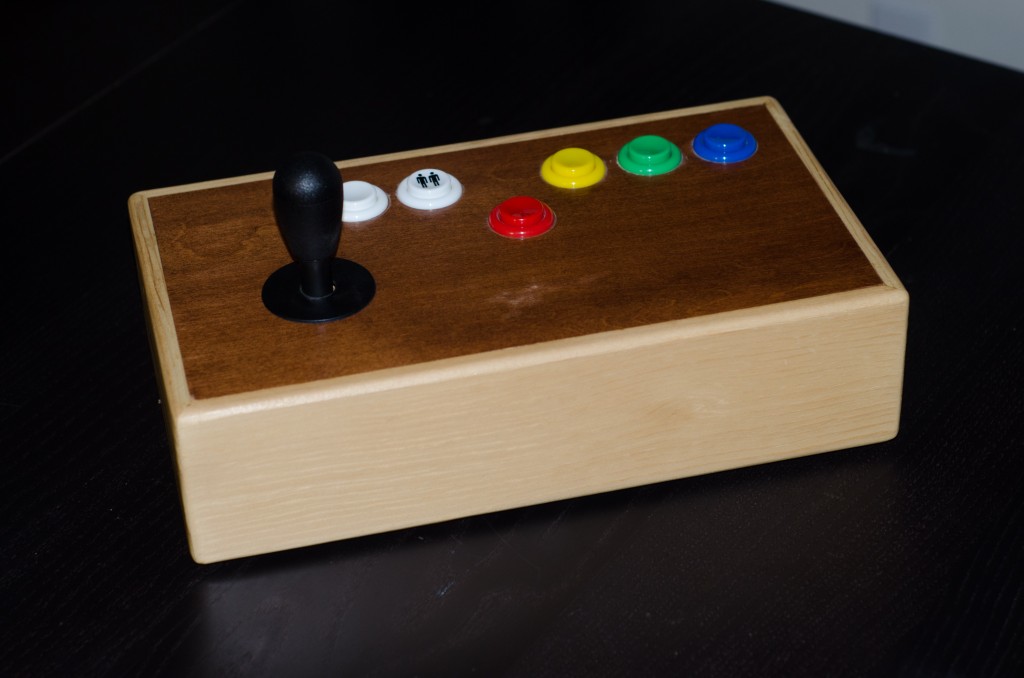
I have wanted to have a USB based arcade controller for awhile, but I have never had time to build one. A friend of mine at work had made some arcade controls out of scrap wood but he didn’t have time to complete his MAME project. He wasn’t using them, and I had been talking about making a MAME cabinet, so he brought them in for me to play with. He did a pretty nice job making them, especially since this was scrap wood from his old CRT constrained entertainment center.
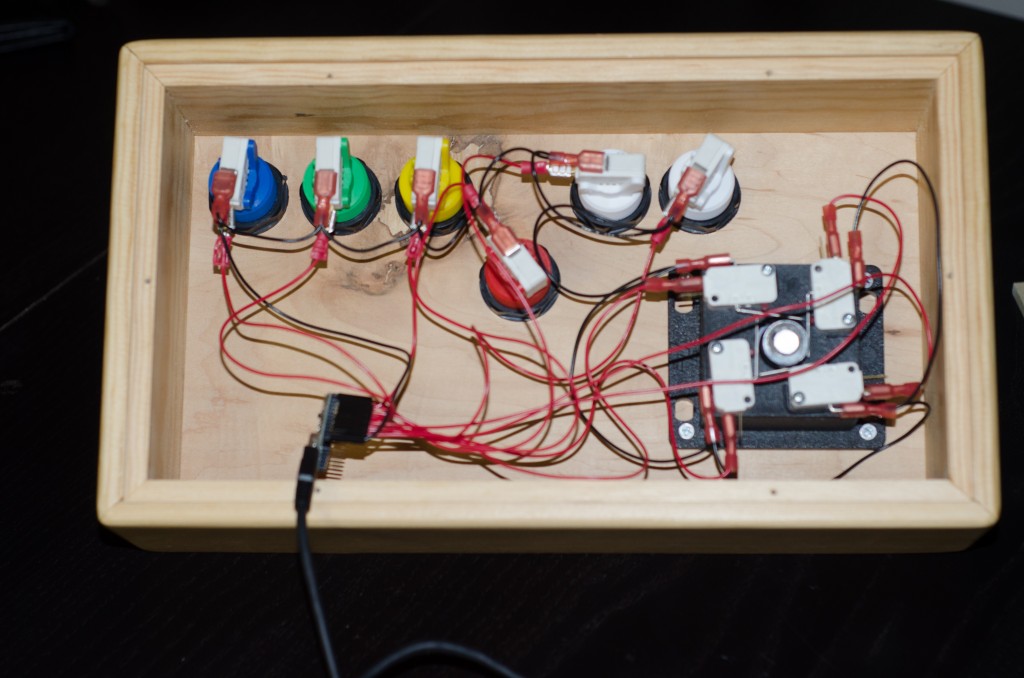
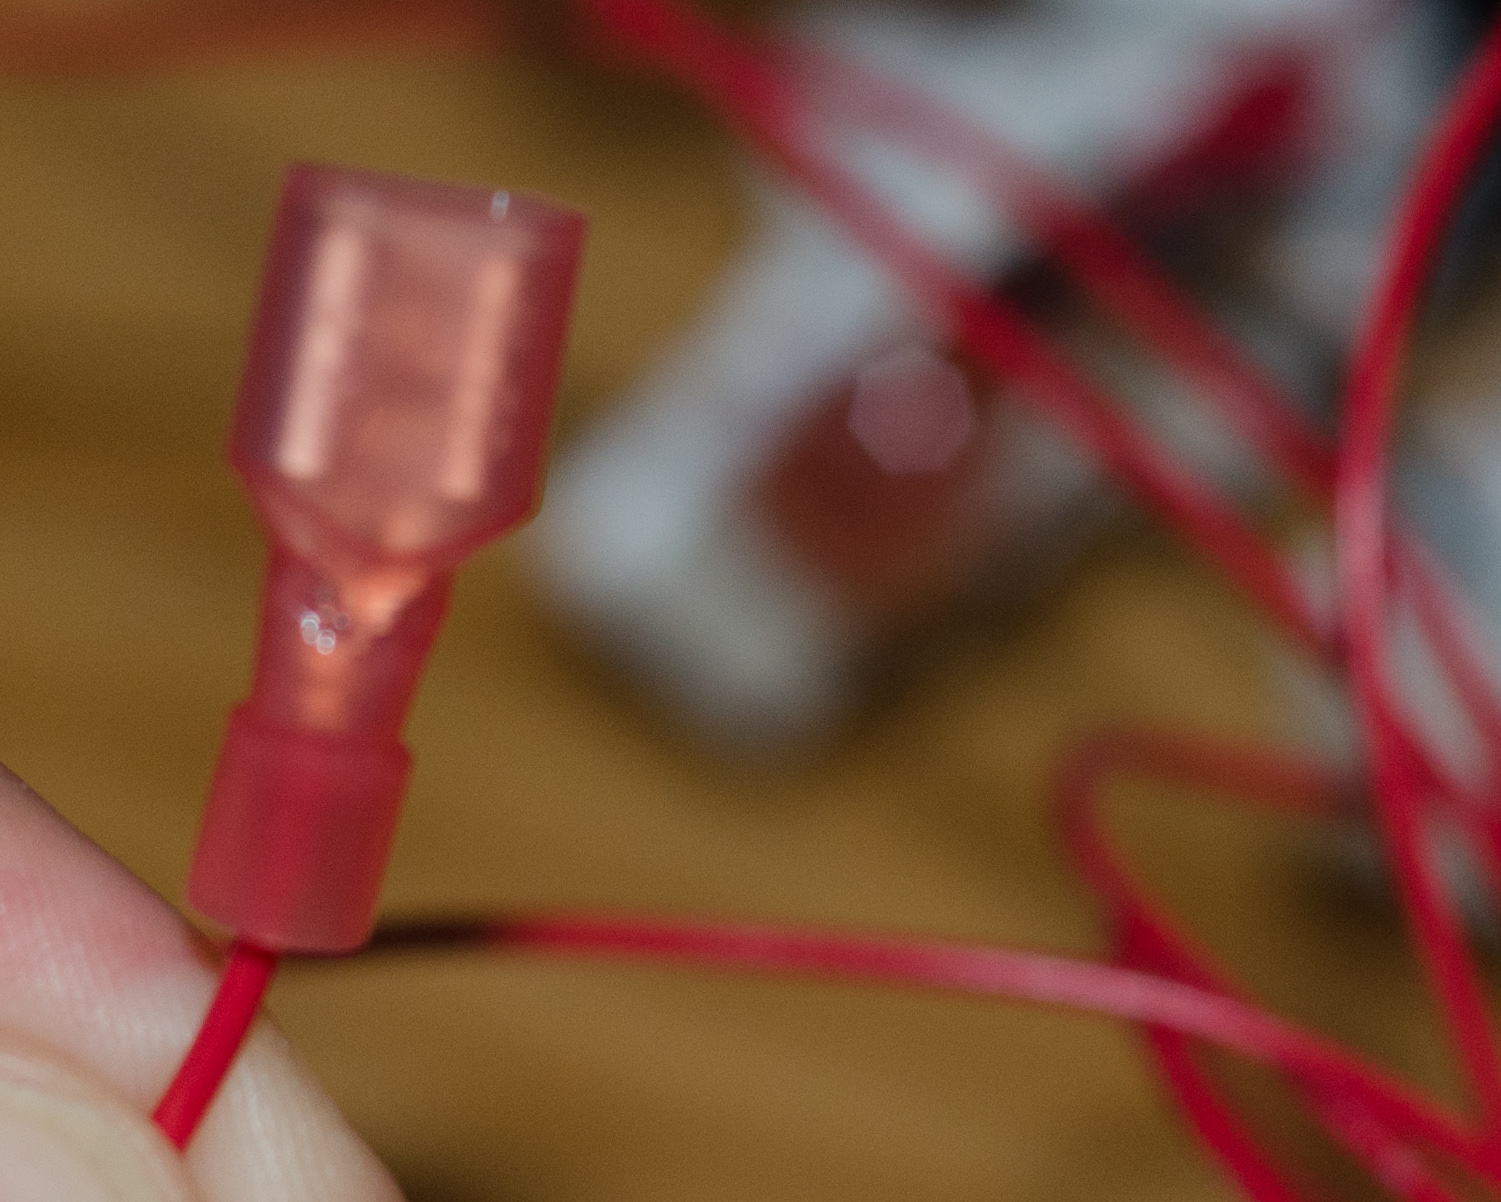
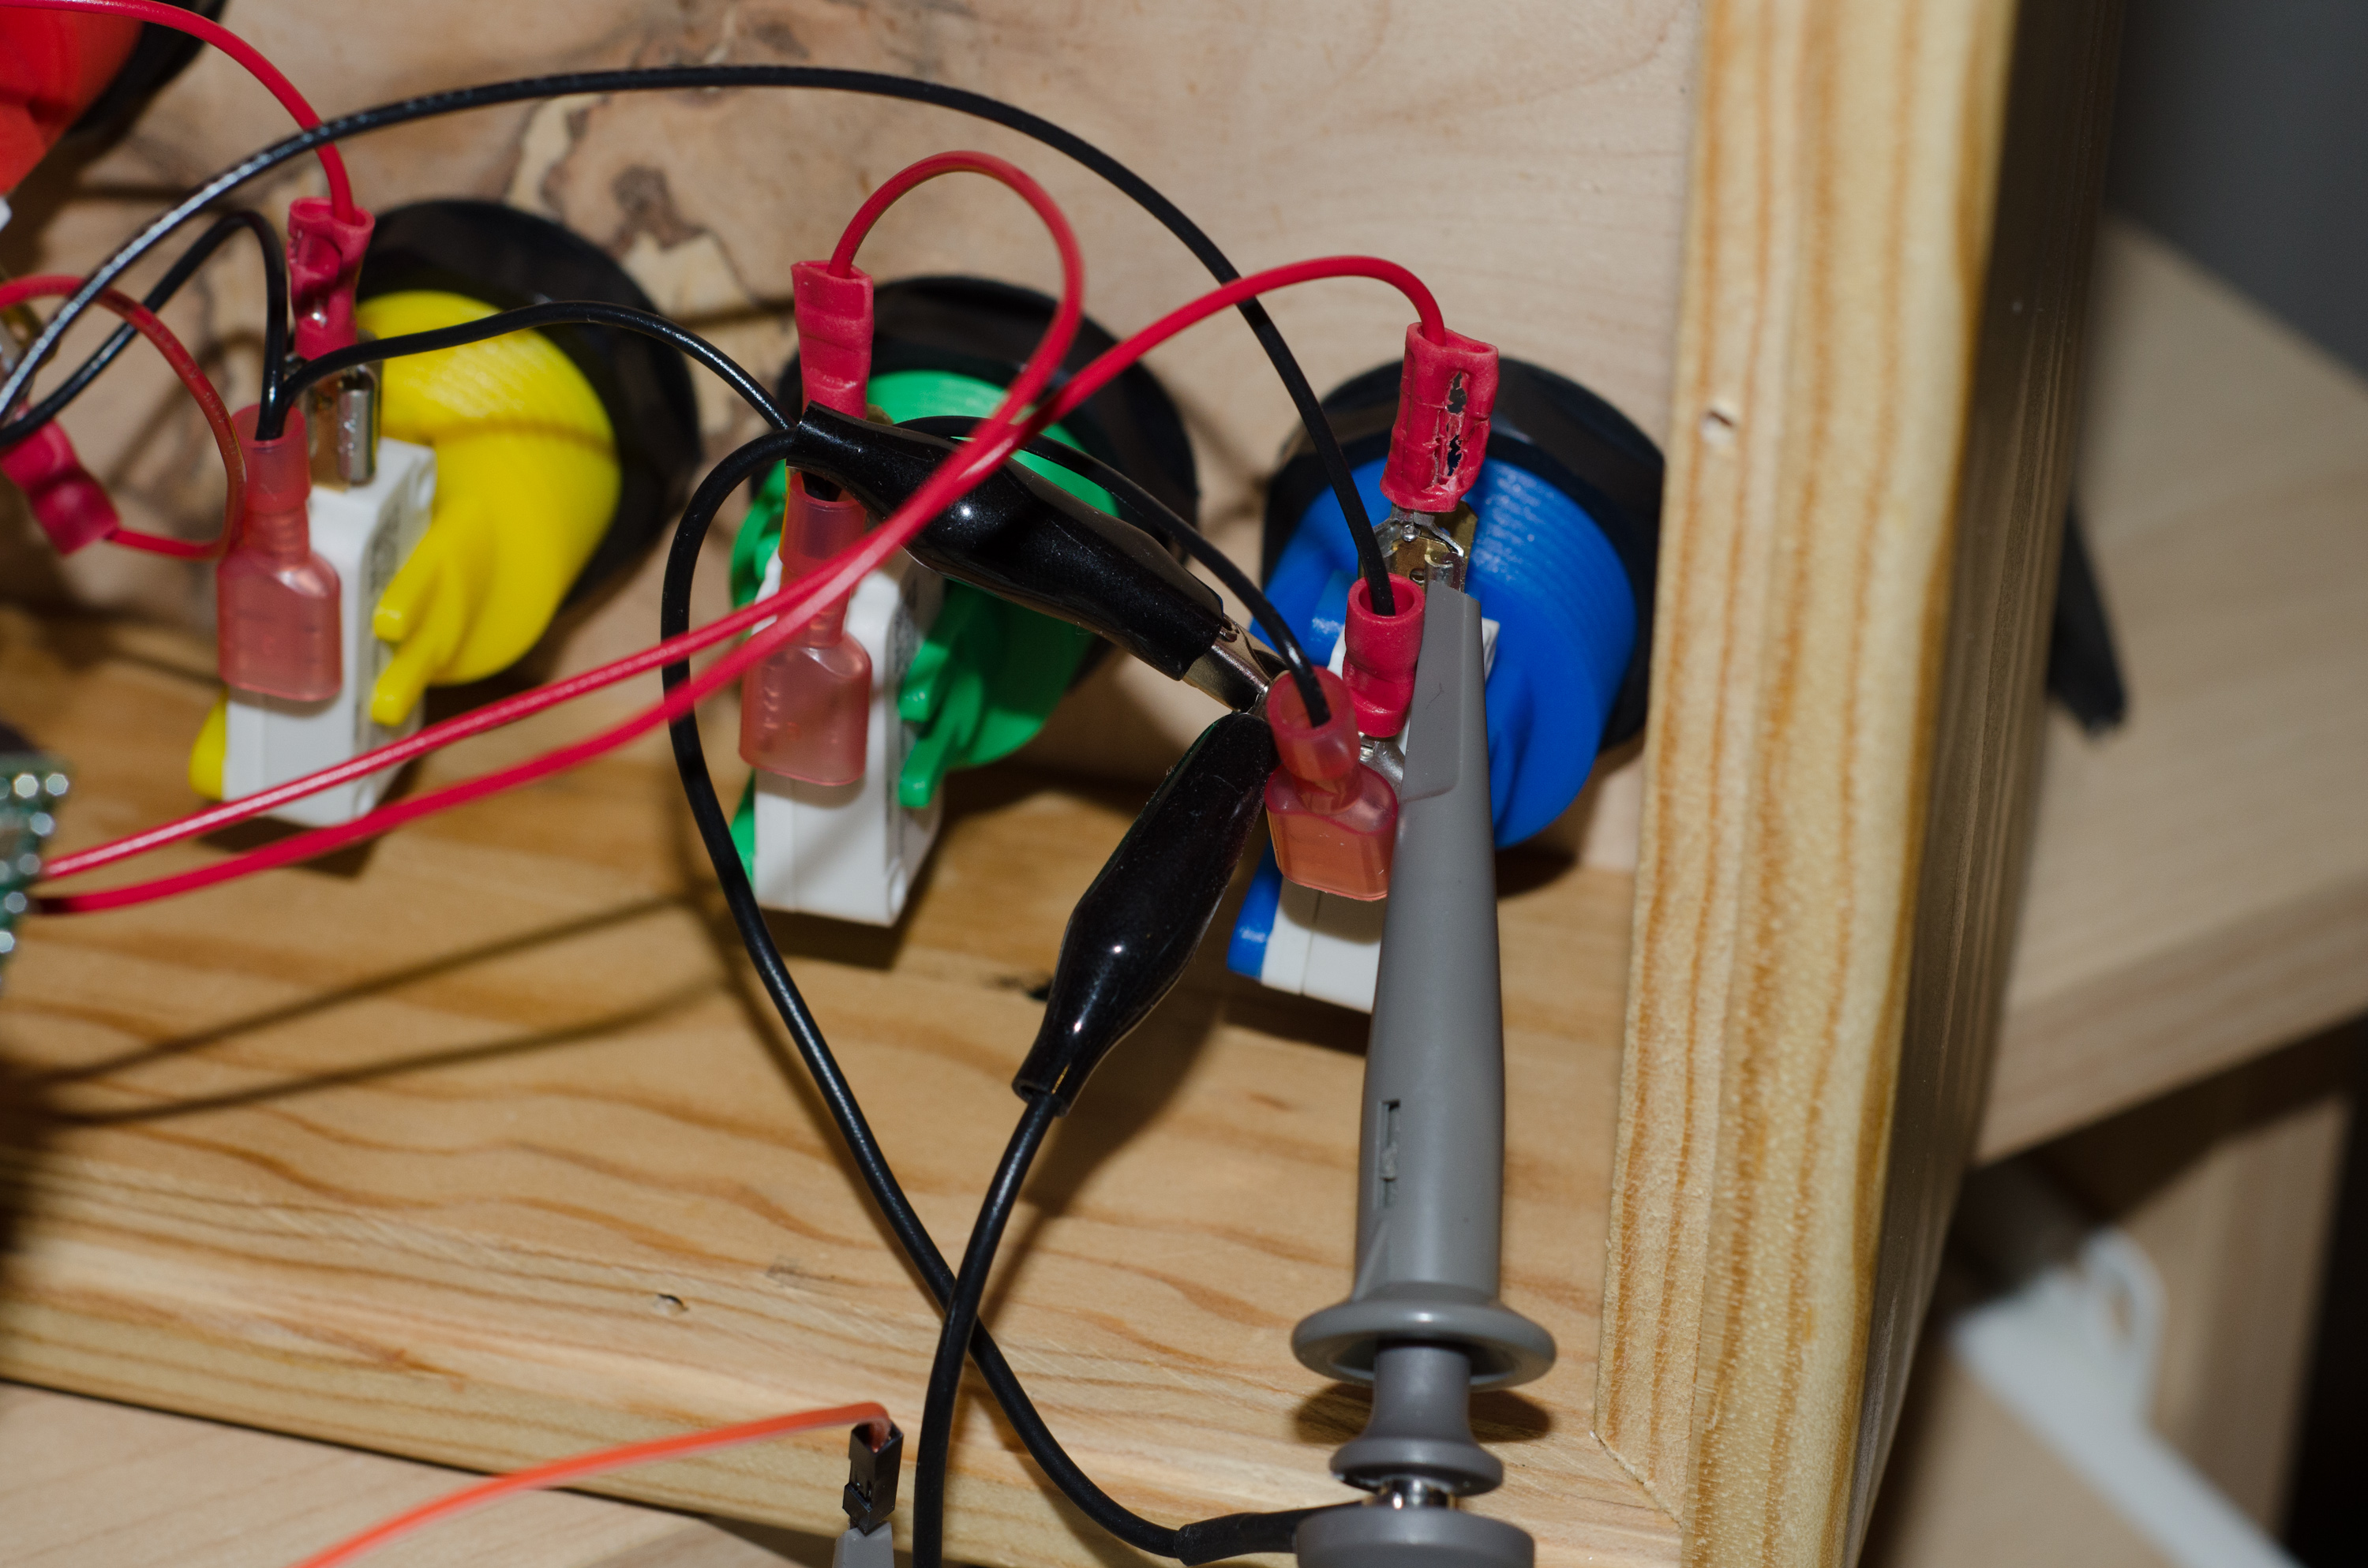
The first thing was to wire them up. I wanted to do it somewhat cleanly instead of soldering directly to everything like I would normally do. Another friend at work happened to have some crimping supplies and tools and so he gave me a tool. F-Connectors (female) are the things that microswitches usually are connected with. So I set to making a daisy chained ground wire and individual wire for each control. I also made a wire for each button. On the other end I wanted to attach to a type of controller so I could expose the controls as a GamePad or keyboard HID device through USB. He also showed me how to crimp female dupont connectors. I must say knowing a bit more about interconnections is awesome and it opens a whole new world of making my own cables. I somehow feel like there is a lot that is easily findable about doing electronics, but the mechanics of connections and making wiring work are not there.
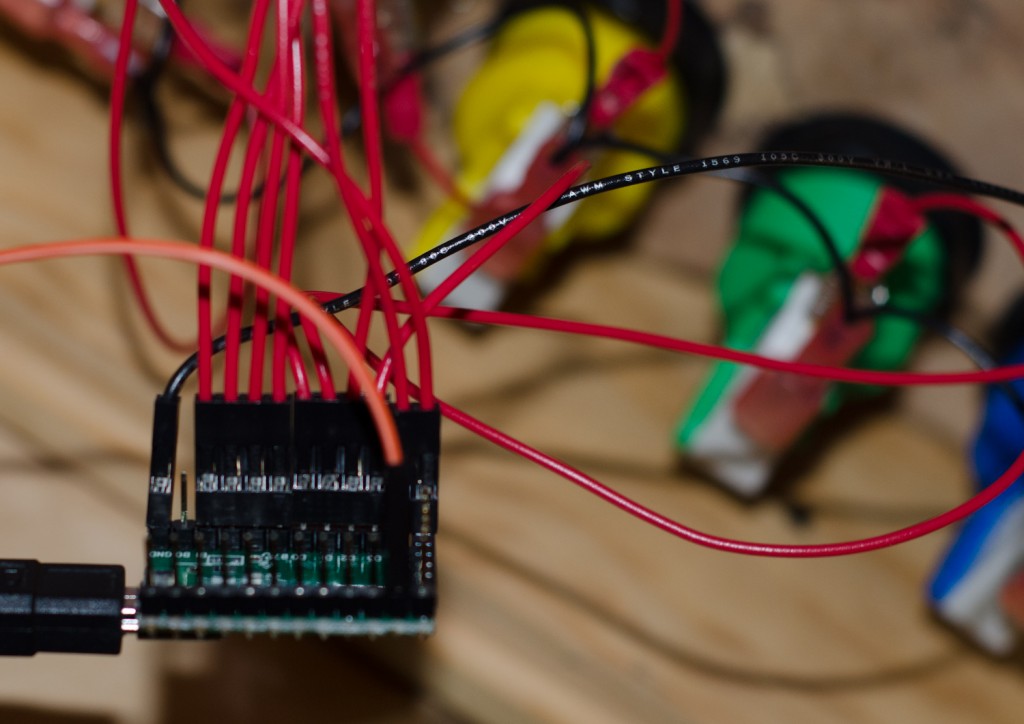
I had a Teensy in mind (actually I had a V-USB Arduino in mind, but I decided against that after I learned about the issue that 5V arduinos need some annoying special treatment to do V-USB i.e. Zener diodes or proper level conversion). Teensy LC came out just after I ordered by Teensy’s, so I was a little bummed that I could have done the project cheaper.
Once everything was wired up, I needed to do some testing. Since my Teensy board from Adafruit was delayed, I decided to use a Arduino Mini Pro. I knew that bouncing would be an issue. It seemed like the simplest debouncing solution was just to make a basic time filter by using a counter. If you read a button state you compare it to your debounced state. If it is different than the debounced state you add to a counter, if it is the same and the count is non-zero you subtract from the counter. If the counter reaches your threshold, then switch the state. That worked fine and eliminated a lot of bounce. In a sense this is similar to a capacitor charge trigger hardware debounce. We are just sampling the button state and assuming it was the same in the time interval of the polling and integrating it. Since the time intervals are all the same we can just use counts as a proxy for the true integral.
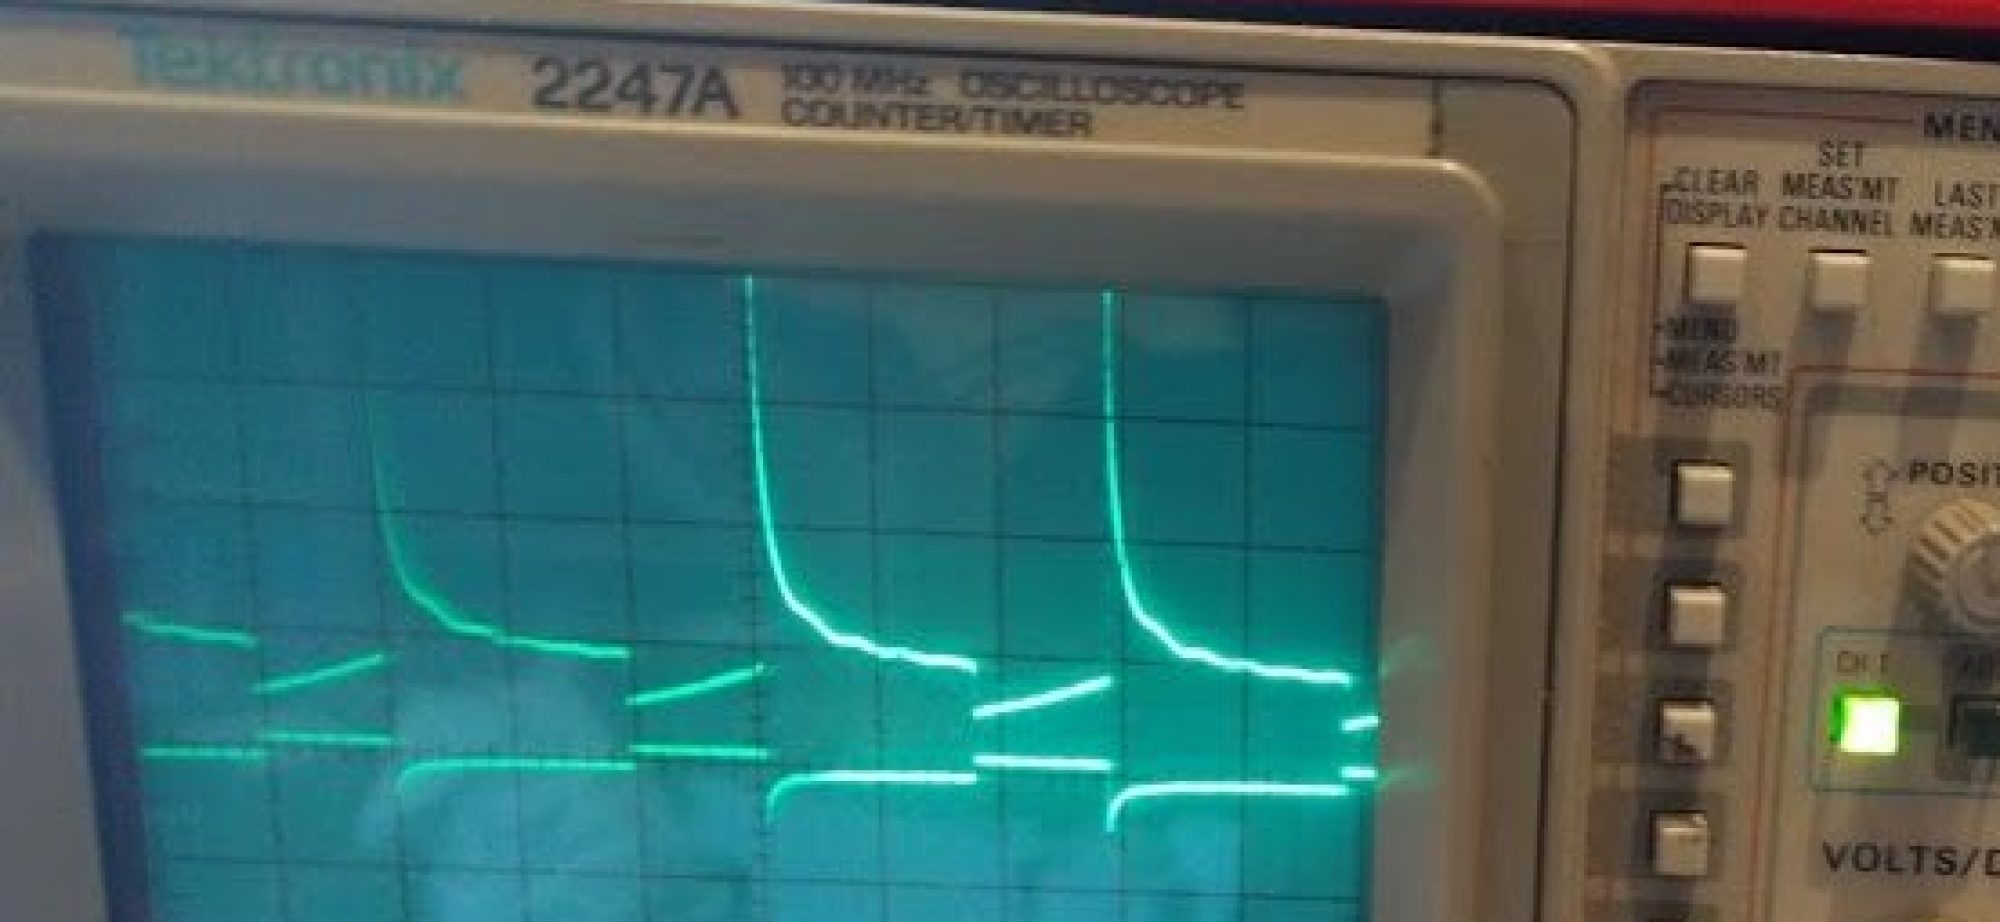
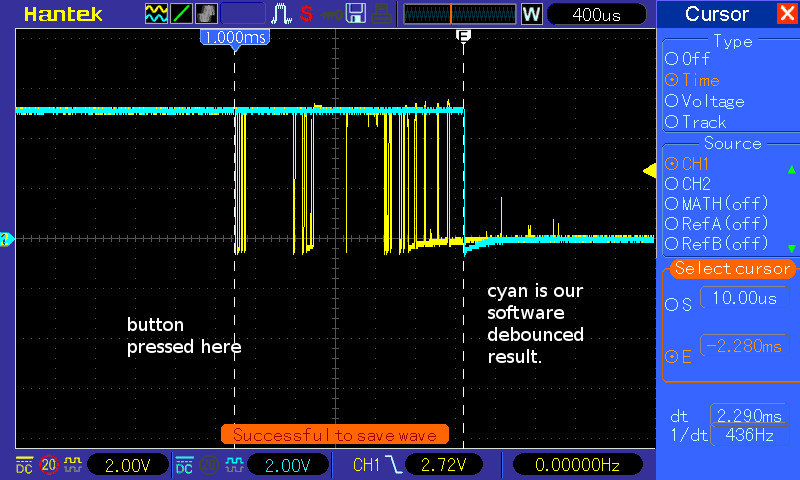
I decided it would be good to look at the bounce on the scope. On the first image you can see the a single press and release of the button. The yellow is the unfiltered single, the blue is a filtered with counter signal emitted from the arduino.
If we zoom in to the button press which causes a high-to-low edge trigger, we can see a bunch of noise. However, the filtering works admirably.
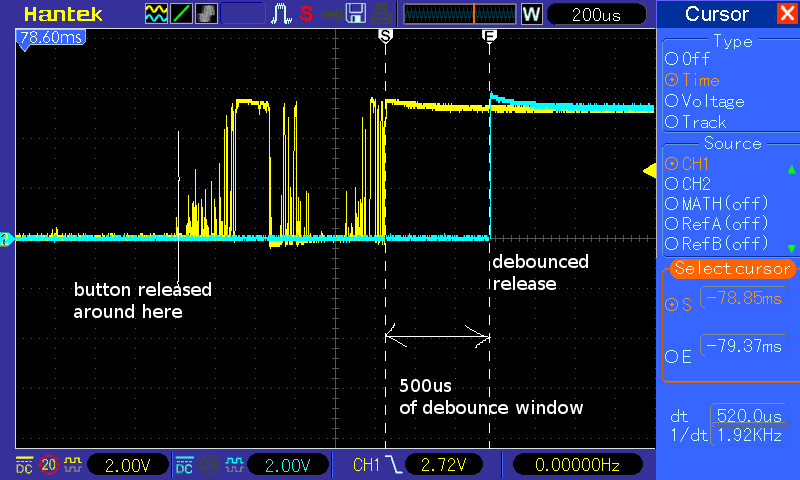
The situation is similar on the button release, but here you can also see the 500us debounce widow
Once all this was done I used the excellent Teensy library to make a USB HID Keyboard. It was super trivial. This experience with the teensy is so much better than when I did a PlayStation 2 Guitar Hero Guitar to Play Station 3 Rock Band guitar device using the Pic 18f4550.