The original Nintendo was to me, like many others, a major part of my childhood. It all started with my sister and I begging a NES out of our parents for Christmas. My fondest memory is probably spending several months of 4th grade obsessed with beating Legend of Zelda. I have many less nice memories of the NES like when one of our controllers stopped working and more persistently, psychosomatic blowing on cartridges (now I know about the 10NES chip). The purpose of this post is to document my current fixes to those bad memories.
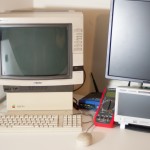
I have been watching too much Angry Video Game Nerd, and as such, I had a hunkering to play Ninja Gaiden. I recently visited my parents and imported a CRT monitor and my NES. Unfortunately, my NES was in sorry shape.
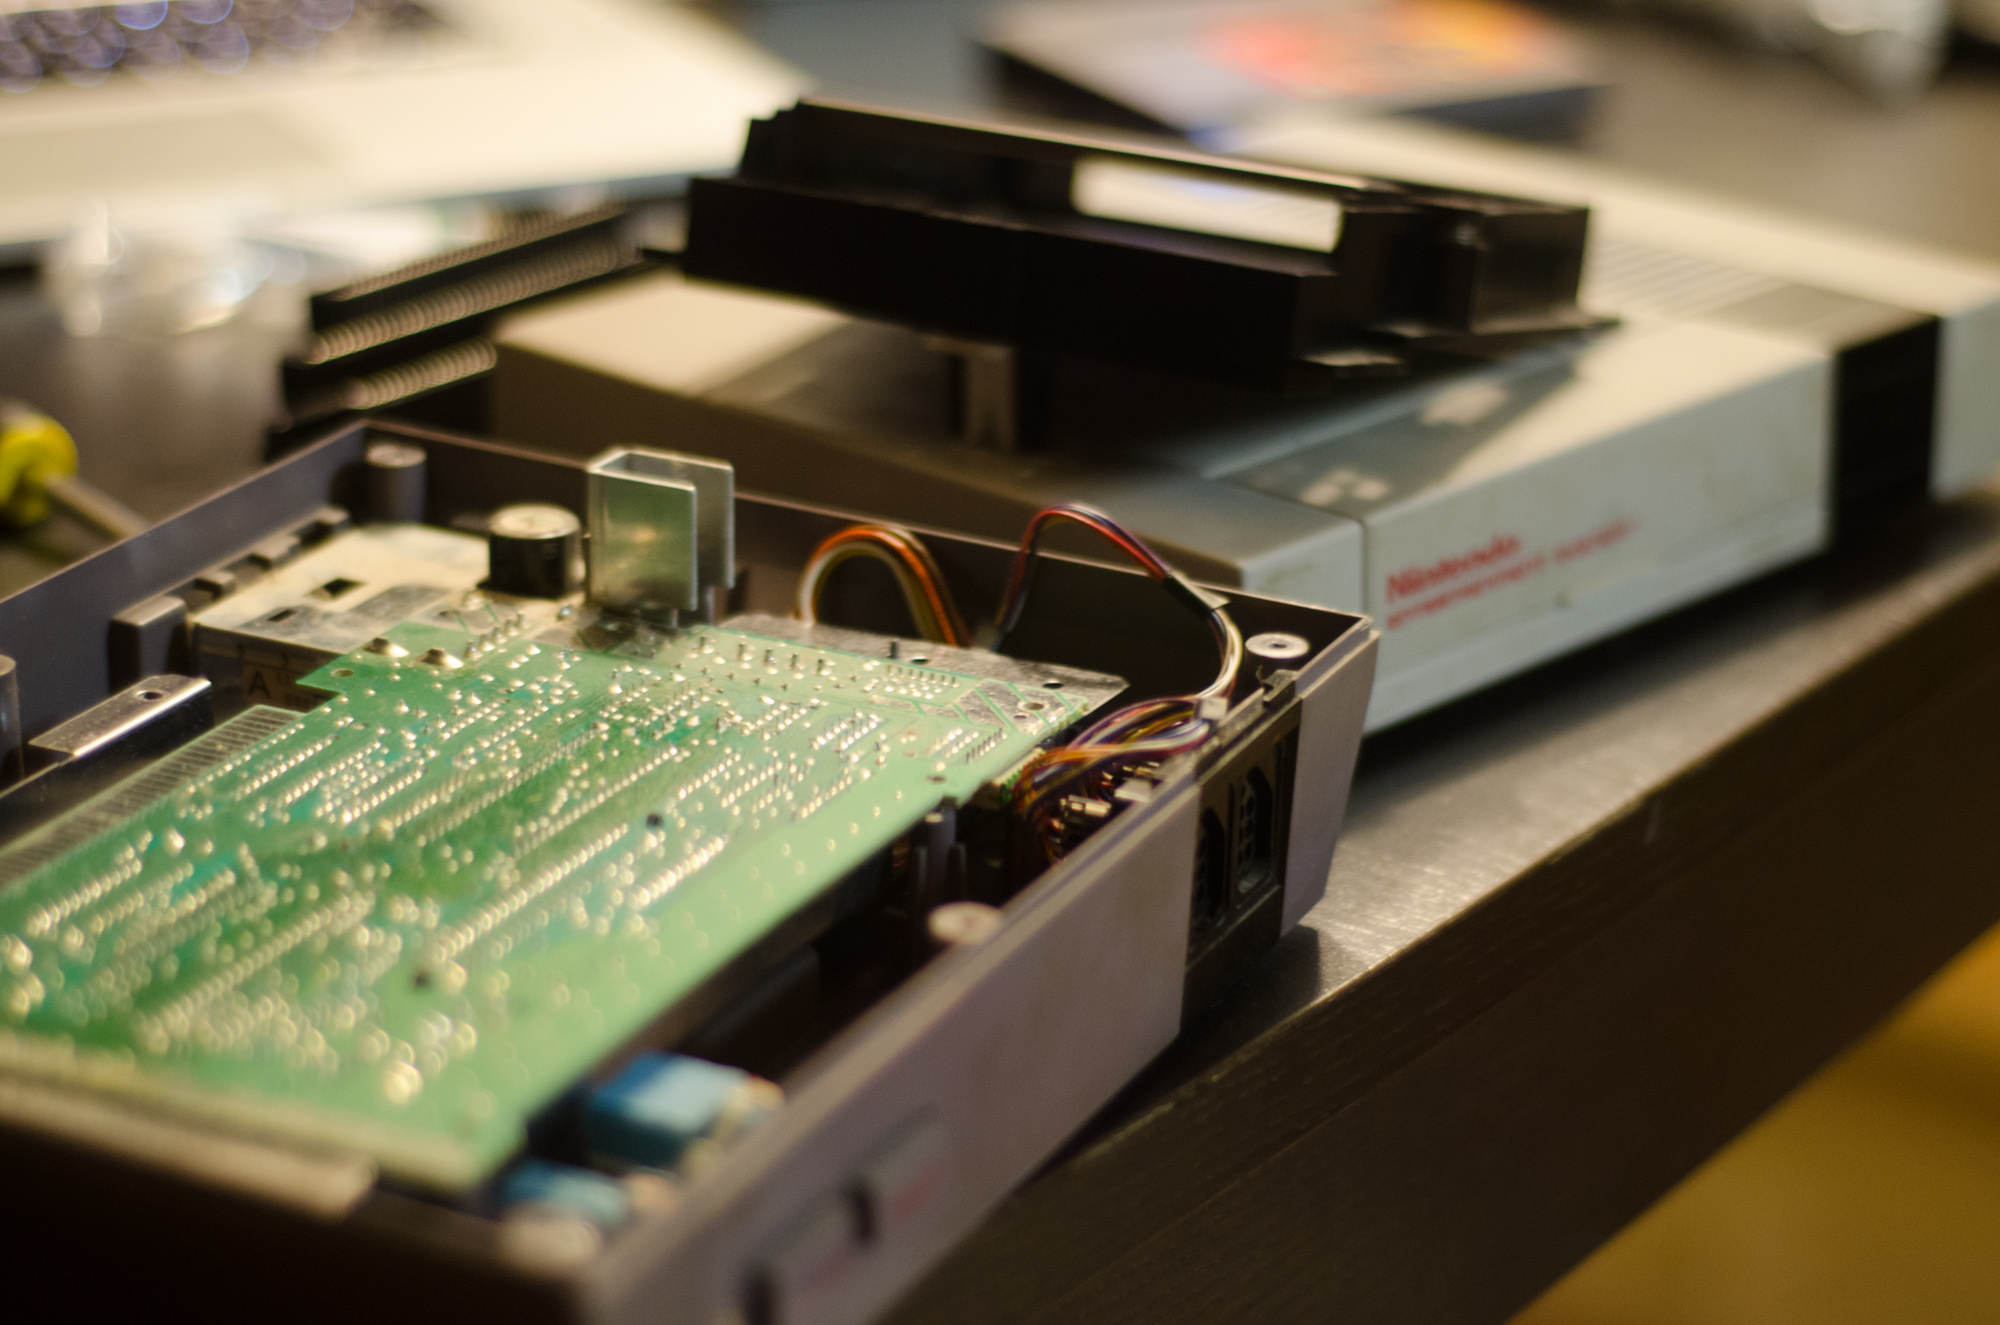
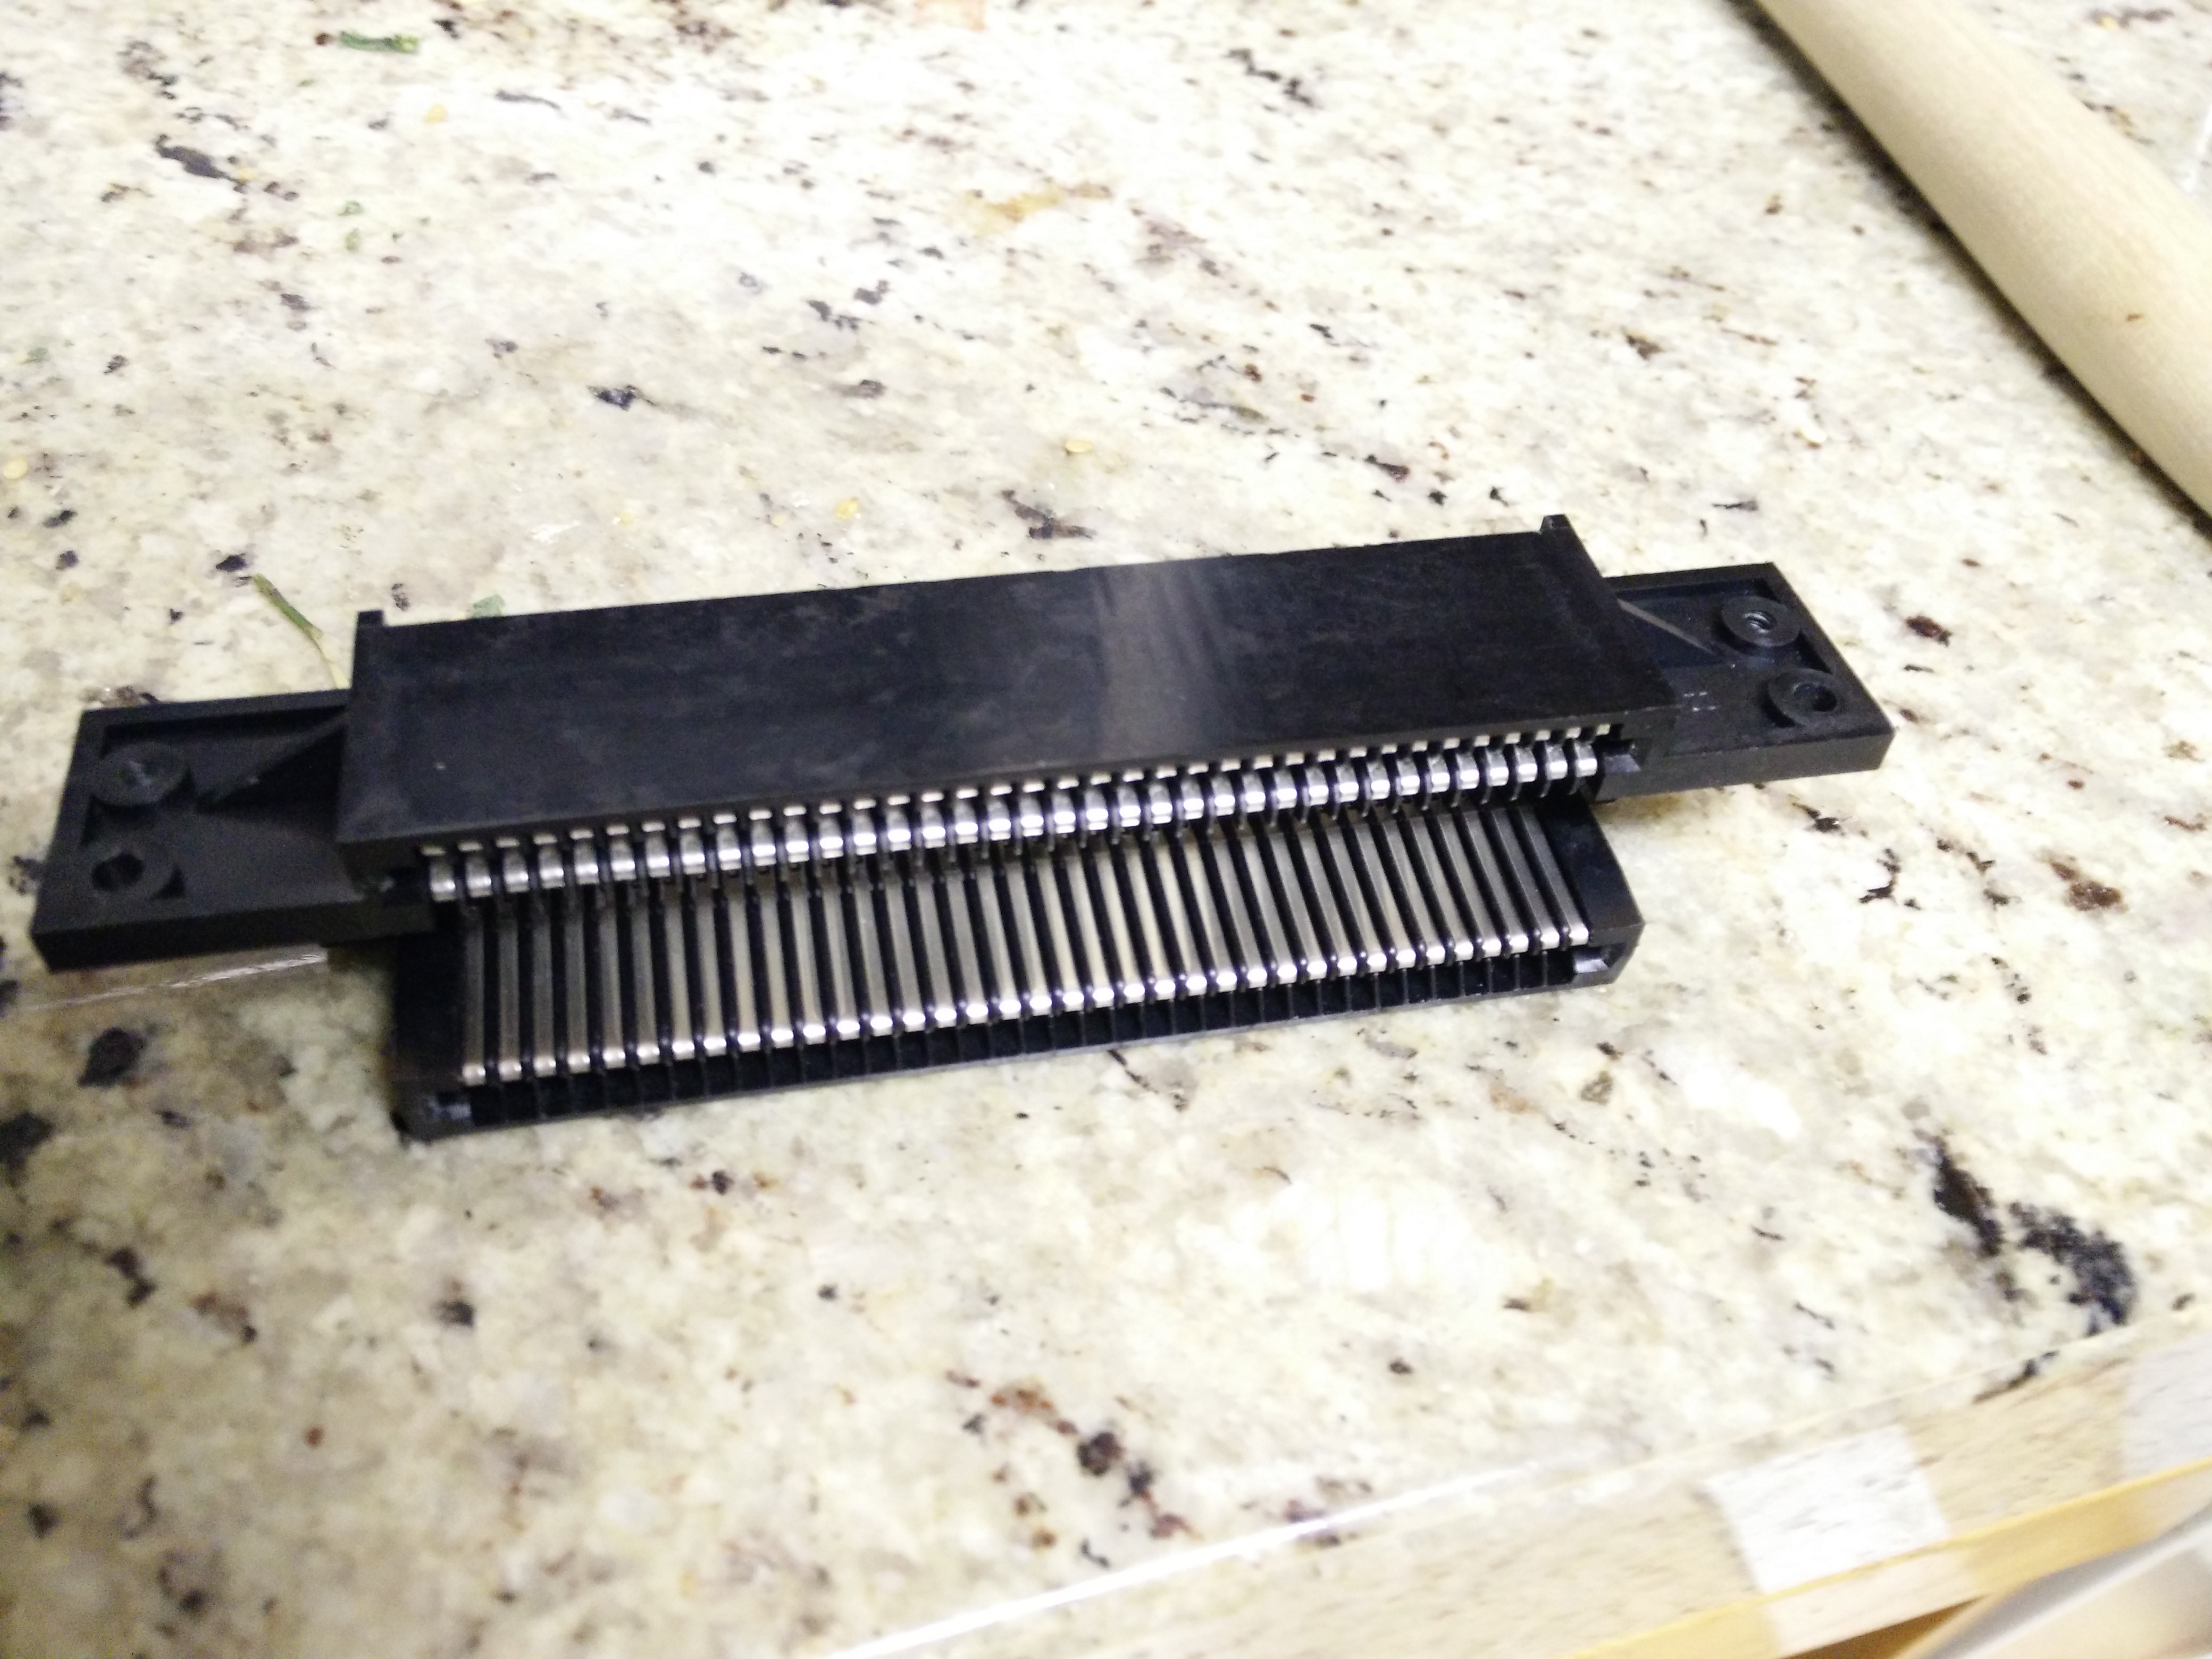
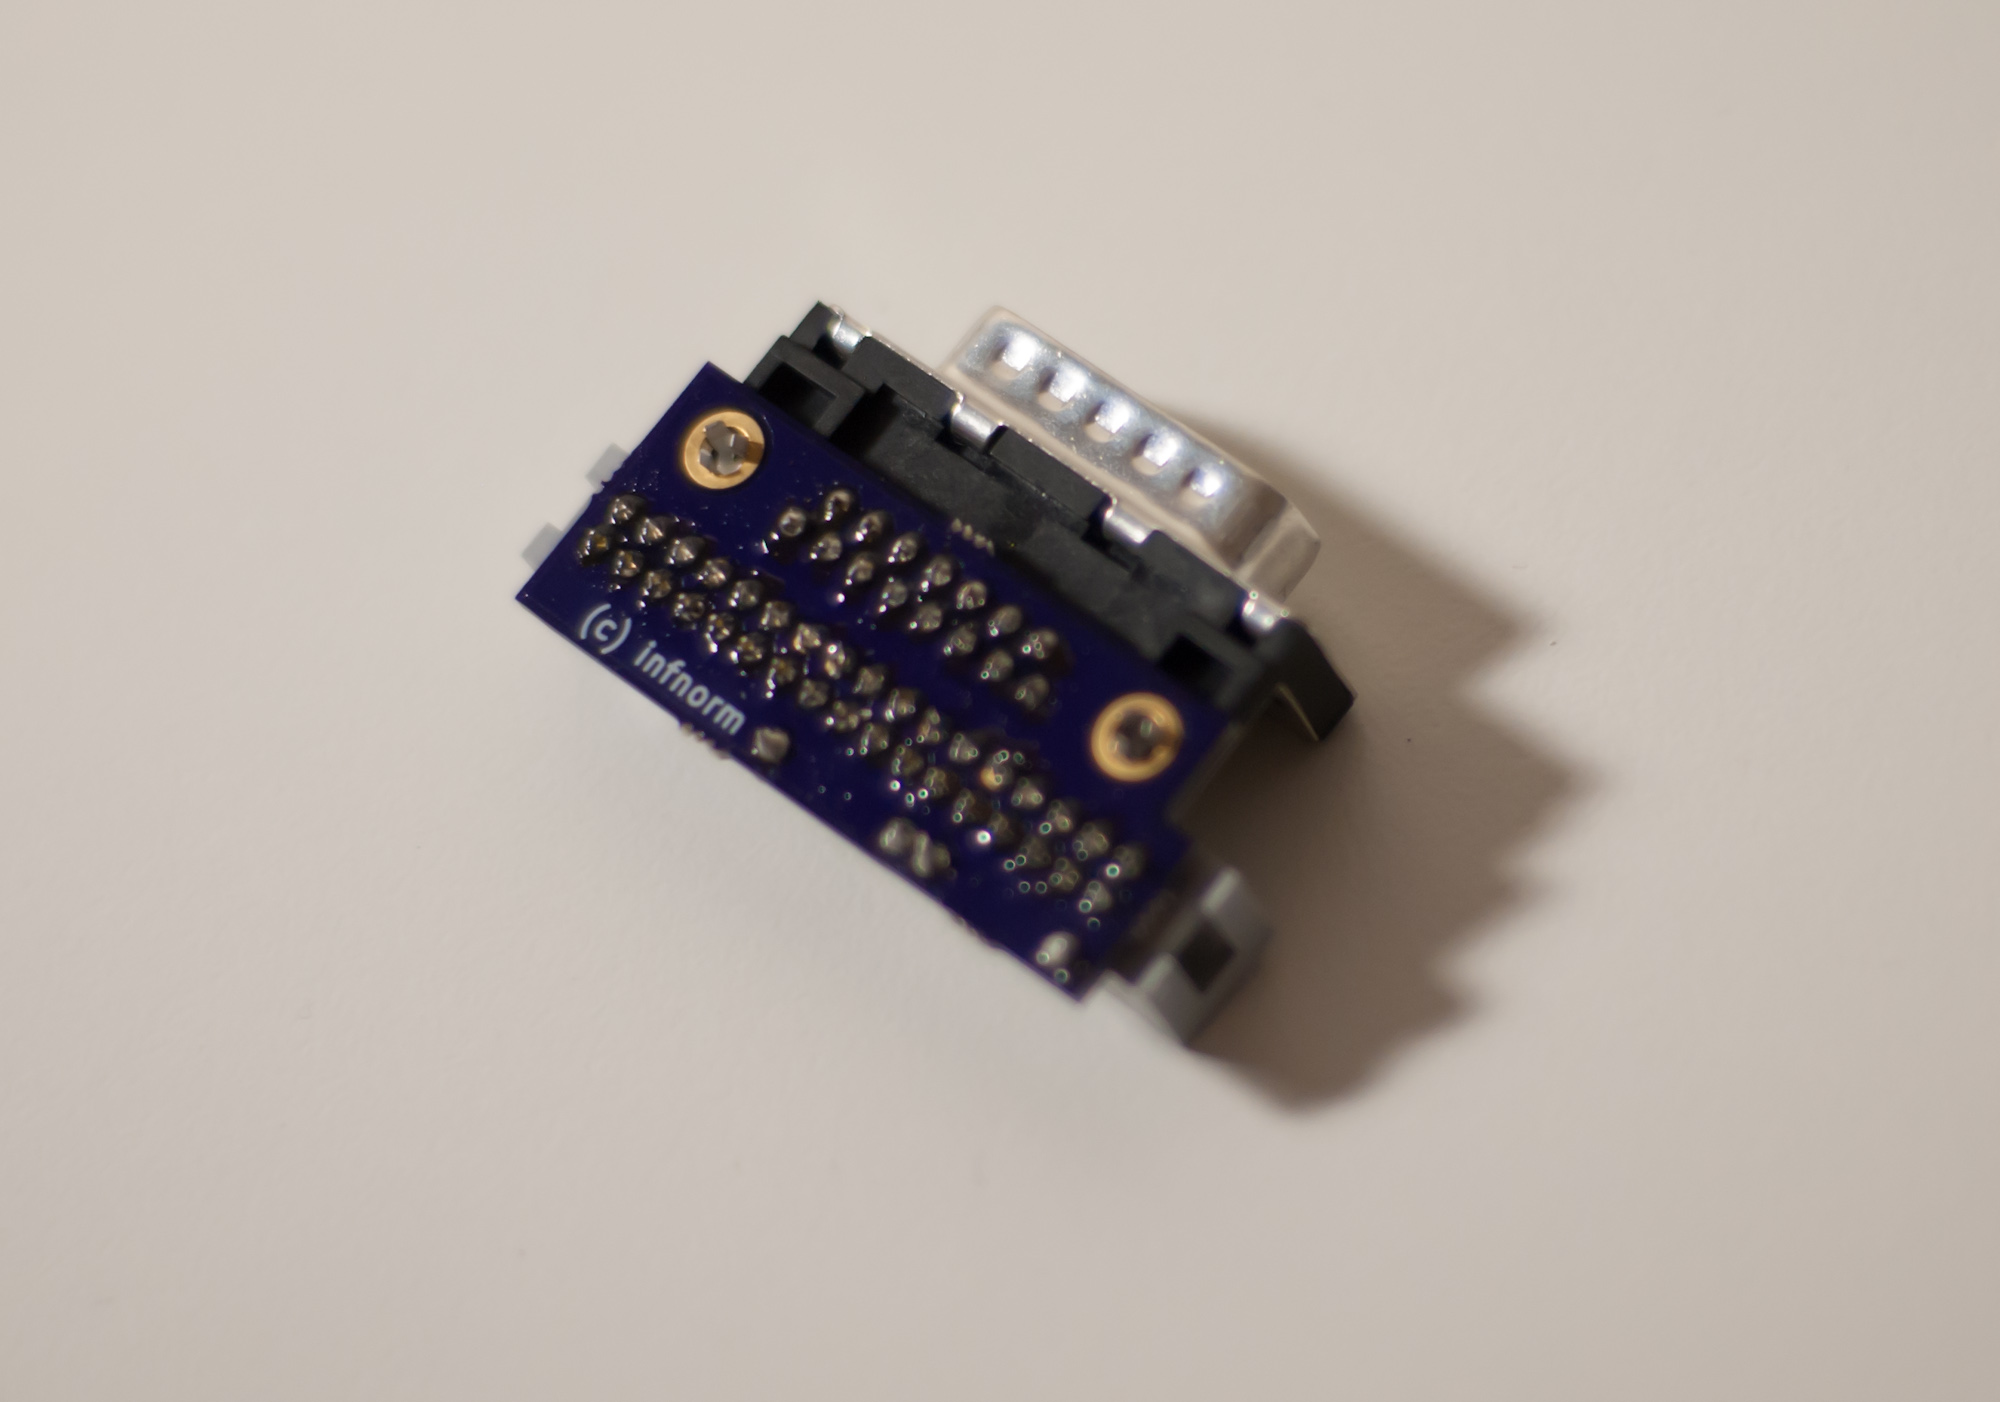
It is well known that the ZIF slot on the toaster-type NES was a massive design flaw. I could not get any games to work, so I ordered a ZIF replacement. Disassembling and installing the replacement was super easy.
 The system worked perfectly after this.
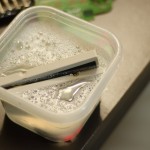
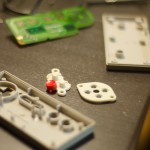
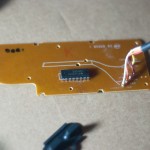
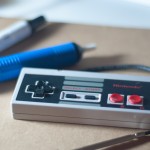
The other thing I needed to fix besides the ZIF slot was my dead controller. It was completely dead, and I really didn’t have a clue why. After doing some research it is clear that the NES controller consists of wires, switches and a shift register. I look apart the controller and checked all the connections and they seemed to be happy. I also decided to give the controller a bath in soapy water.
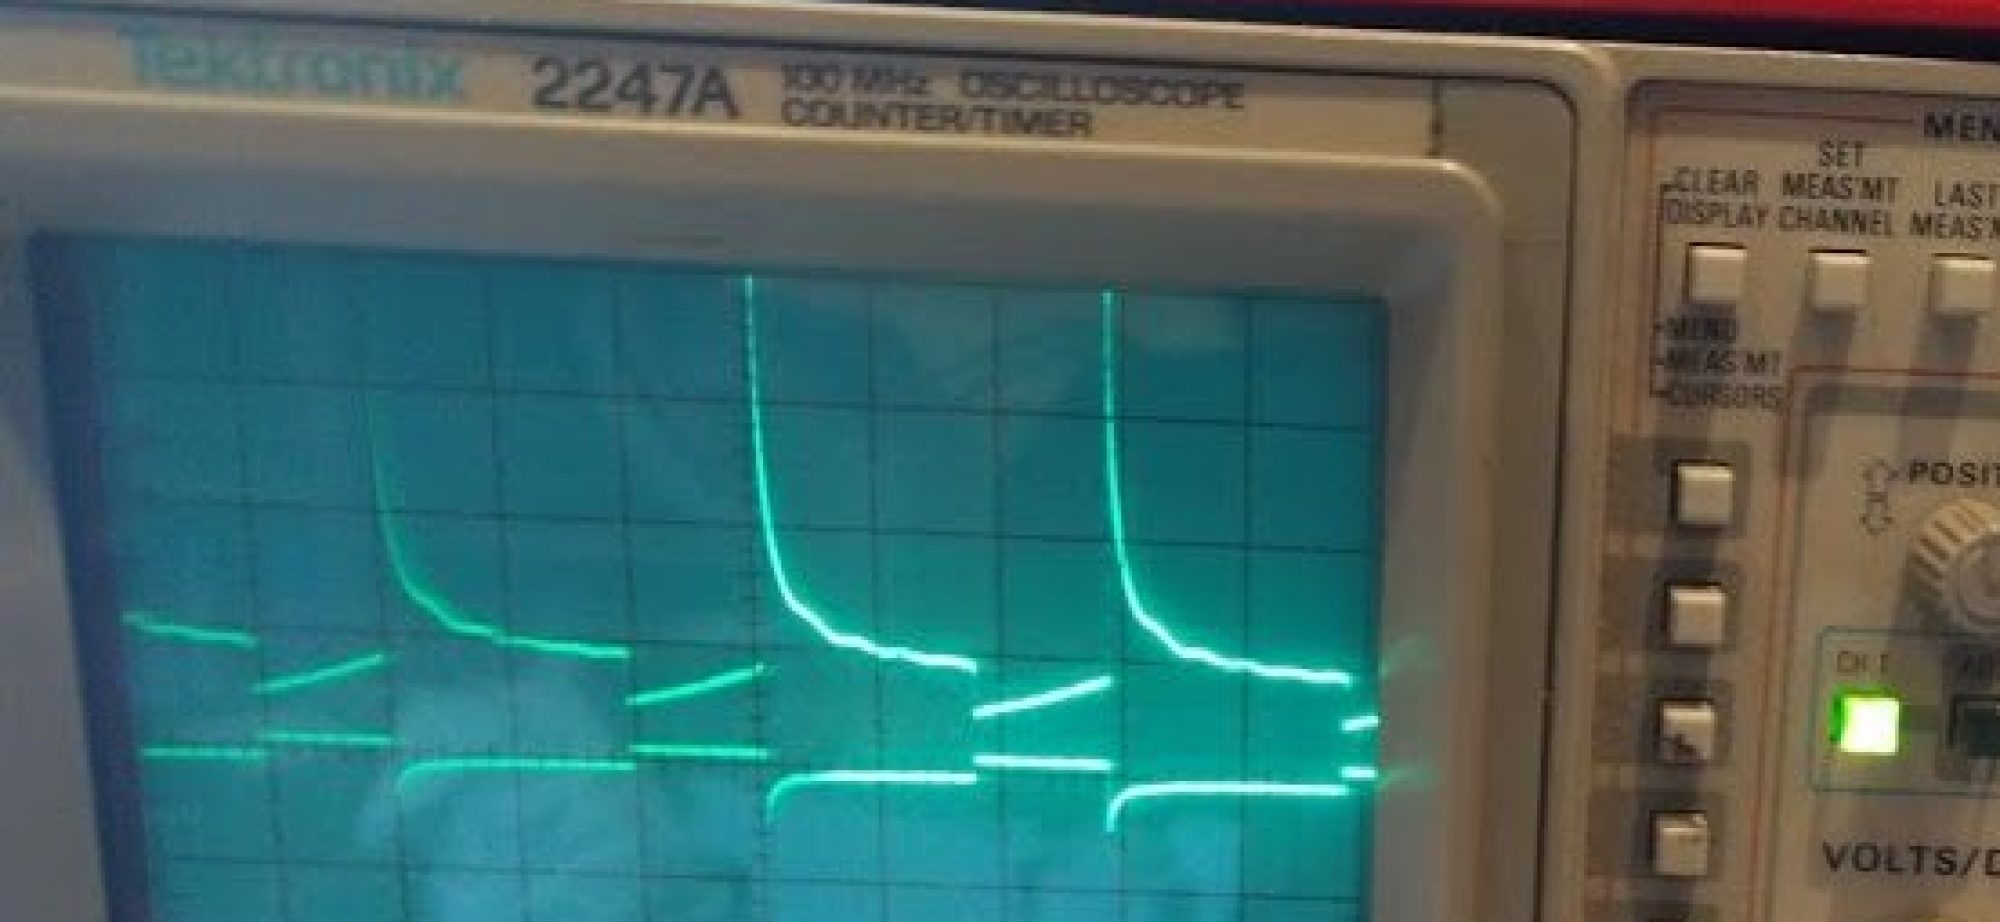
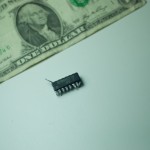
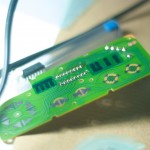
After the controller was clean, I tested it some more with my oscilloscope and basically found that the chip was dead. So I decided to order a replacement. It is basically a 4021 or 74LS165. I also ordered a solder sucker and removed the old chip. After replacing the chip, it worked as expected, thus completing the loop with my childhood and ensuring many more hours of happy Nintendo time
My endeavors with the NES are far from complete. I’d still like to try my hand at making my own game for the NES. I also am interested in producing physical reproduction cartridges and perhaps a multi-game cartridge that uses flash as memory to feed the real system.